
Making photo collages is an enjoyable and effective way to store newborn photos or share pictures on social platforms. It makes it simple to showcase the best moments from your baby’s first moments or some shots from your maternity photo session. Creating collage templates using Photoshop is very easy and requires little skills to do the work properly.
However, it can be tedious to make a photo collage, and unpredictable challenges might prevent you from finishing it. You can ask your photographer if they can do it for you. Or you can start to do it yourself with the help of some self past Photoshop tutorials. When done, instead of starting the entire collage from scratch, you need to move images to some predefined layouts. This is how you will do it:
Select your images
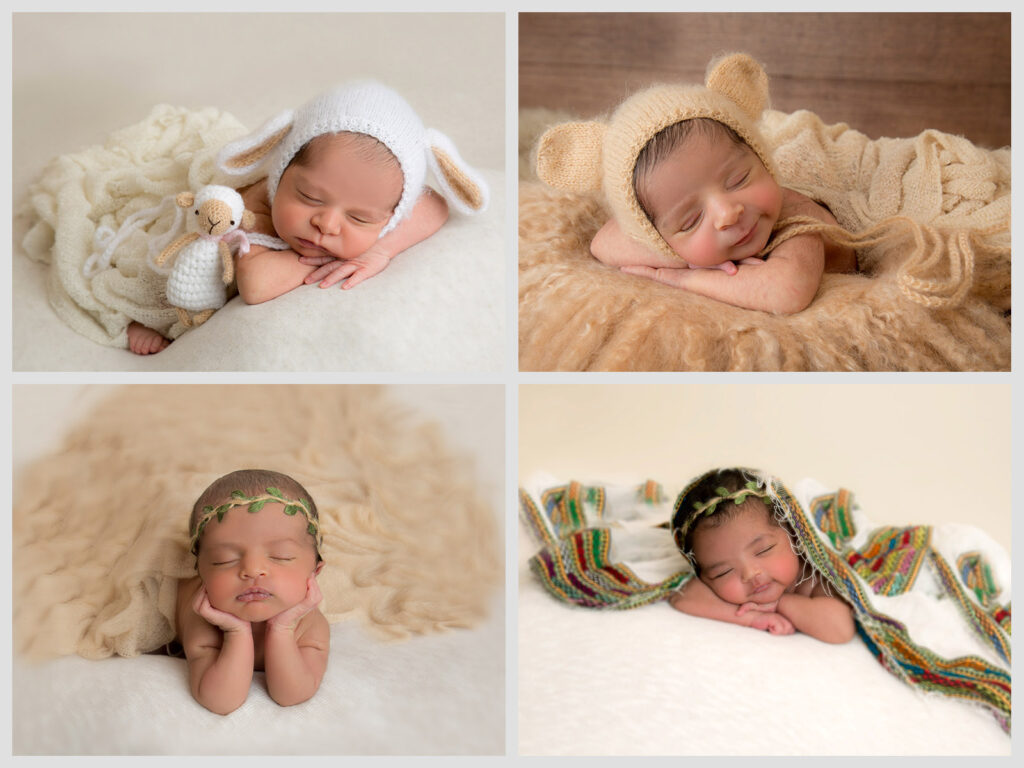
For this example, I’m using four images. I’m also creating a gray border for all the images because I like it this way. But, of course, you can do whatever you want.
Open a new document.
First, run photoshop. After it’s loaded, create a new document. Keep in mind that this document would be your collage template. Choose the size that would be suitable to keep your photos. You can give your template a white border:

Open photos in Photoshop
Then you need to import your photos in separate layers. To do this,
Go to File Manager (Windows) or Finder (Mac), then select all photos you want to be in collage. Then drag them into your document.

At first, you’ll see just one photo. Still, when you click on the document (Or press Enter button), they appear individually in the layer panel.

Unhide Rulers
Now you must make the Rulers visible (Mine is already activated). Go to the View menu and click on Rulers.

Add guides
Then it would be best if you created guides. Click on each ruler and drag the guides to the same document again. For this project, we first create four guides on each boundary. Then two guides to the center (One horizontal and one vertical).

Position images
Then using the move tool, we drag each image roughly to one of the corner rectangles. To make it easier to move all images one by one, after moving each image, you can hide that. When we are done with the final image, we unhide all layers. We can see now that the images overlap and do not look good. So we need to crop them.

Use layer masks
To fix this, we’re going to use masks. First, we highlight one of the images (Maybe the top-left one). Then we pick the rectangle marquee tool. Then with the help of guides, we drag out a selection on the first image (The top-left image). Make sure the selection snaps correctly to guides. With that image highlighted, we click the layer mask icon at the bottom of all the layers menu. We can see now that our image is masked. Now to hide the guide, use Ctrl+H (Command+H in Mac).


Unlink layers from masks
The nice thing about this Photoshop grid template is you can adjust images after you’re done. To do so, you unlink the image from its mask by clicking the link icon on each layer (Layer menu). Then with the only image selected, click on your image. Now you can move, rotate, scale, or use free transform that image without affecting others.

You’re done now. You can save this new photo collage in Photoshop as a new image and keep the original file for later use.
Tips to start photo editing with Photoshop
Select Your Photos
When you have all your files and choose a project theme, you must select the photos in which it should be included—double-click the image icon for a quick view of the image. Usually, six to ten pictures are enough. However, you could do it with as many images as you like. Normally you can not tell a story using just one picture, and you must add more. Also, uploading so many pictures is going to confuse everyone.
On the other hand, using carefully chosen photographs can provide a harmonious visual effect. So, include large, medium, or close-up photographs. This combined approach to photography gives viewers different perspectives on the subject.
Resize Your Photos
A size adjustment should be made for enlarged photographs. Using these pictures in full color is unnecessary and may reduce computer performance. Think of the presentation style of your completed photograph. The photo must be large when printed on a wall or stored on an album. You can reduce the file size when you only share your collage on Facebook. For printing, set your resolution at 300 dpi. Use on a monitor with a resolution of 78 dpi. Decide the dimensions of your collage and determine the image dimensions. Make these 30 percent bigger.
Create a New File in Photoshop
Open the “New Document” panel in Photoshop and select presets. You do not require a specific detail since you can edit or add canvas dimensions later. The crucial part is creating a fresh document that meets the proper resolution. The image size should be exactly the same as when you took the pictures. In my document, the horizontal dimensions of the document were selected: A4 – 72 dpi. This can be used on an online platform.
Add Your Photos to Your New File
The way to add images is to create documents. A simple solution for opening their documents folder is to drag it to their canvas. This automatically creates Photoshop SmartObjects. Removing an empty smart object is non-destructive. You can change anything in your design and make any change without affecting the quality. Please remember you have to rasterize intelligent items before pixel editing them. When trying to copy something, dodge, burn, or brush, you can select “Raster Layer” with the right button. I recommend completing editing the images first.
Place Your Photos on Your Collage Canvas
Choose the moving tool and then click on and drag pictures into positions. You can try a few different things for a perfect outcome. You can arrange the photo stacks as you want. When a folder is in a separate layer underneath it, click on that layer to view it. Then move your layer to an elevated location. Putting it lower on the photo scale over the one overlapping it. Arrangement/positioning is often difficult. You can create new groups of photographs in the “Layers panel.” Clicking on the ‘Creating Groups’ icon in the left-hand panel creates groups for you. Tell us the names of the groups…
Add Borders to Your Photos
A way of enhancing photographs is by adding borders to them:
- Make your collage in Photoshop look like they were framed from the past.
- Choose one of your photos in the fx box at the left corner of your Layout, and click ‘Stroke.’ You can change the sizing and adjust the colors in the Layers Styles window. For this version of Photoshop collages, I created my background gray with a total opacity of 25.
- I placed them inside the photo frame.
It is also possible to place individual borders in photographs to give them personal meaning in each photo. You can change borders by right-clicking the copy layer style, where a new line has a copying layer style.
Adjust the Background Layer Color
You might enjoy your pictures from now on. You’re going to have fun trying out different collage techniques. Clicking on the background image will change your color or add a gradient. Backgrounds are meant to complement photos, not overwhelm them. Choose a prominent color on the photos and make it the background color. The backdrop may be white, but some options exist to add white borders.
Answering some of your PhotoShop questions
1- How do I create a grid template in Photoshop?
Select the Grid option in the View tab. It’ll come right away. The grid has dotted lines. You can now modify how your line, unit, or subdivision appears.
2- How do you get the grid in Photoshop?
Select Edit > Preferences > Guide and Grid.
3- How do I make a 3×3 grid in Photoshop?
Adobe Photoshop CC is available at all times. Please go to Files > New. Create the canvas 3000px X 3000px 300pi. Go to View > Display > Grid. Please see the grid. Select Edit > Preferences > Guides, Grids & Slice. Change grid configurations for 1000 pixels and subdivisions. Click OK.
4- Where can I make a collage online for free?
Creating photos. It’s easy for anyone using Canva online to make digital collages from their own images. Create beautiful artwork with our designer-made template and download it to your mobile phone immediately.
5- How do I add text to my collage in Photoshop?
Select the ‘Type Tool’ from the tools palette to add text to your Photoshop collage. First, select a font and size from the options bar at the top of the screen. Then click anywhere on your canvas and start typing. You can adjust the font size and color, add effects, or move the text to different areas of the collage.
6- How do I resize a layer in Photoshop?
Select the layer you want to resize from the Layer palette to resize a layer in Photoshop. Next, select ‘Transform’ from the Edit menu. This will bring up a bounding box around the layer. Please move your mouse cursor to one of the corners, hold down the left mouse button, and drag it until you reach the desired size. Finally, press ‘Enter’ to confirm your changes.
7- How do I add a border to my collage in Photoshop?
To add a border to your Photoshop collage:
- Select the layer that you want to add a border around.
- Go to ‘Layer > Layer Style > Stroke.’ This will bring up the options bar where you can choose the size and color of your border.
- Adjust the opacity if needed, so your border is less noticeable or more pronounced.
- Click ‘OK’ to confirm your changes.
8- What is a vector in Photoshop?
A vector in Photoshop is an object or line drawn with mathematical precision. The data it contains can be used to accurately re-scale and reproduce the image without distortion or loss of the image quality used. Vectors are commonly used for logo designs and illustrations. They also create elements such as banners, buttons, and text.
9- How do I make a picture frame in Photoshop?
Select the ‘Rectangle Tool’ from the tools palette to create a picture frame in Photoshop. First, draw a rectangle on your canvas to represent the size and shape of your desired photo frame. Then go to ‘Layer > Layer Style > Stroke’ and choose the border color, thickness, opacity, etc. Finally, click ‘OK’ to apply the changes.
10- How do I add multiple images to one layer in Photoshop?
To add multiple images to one layer in Photoshop, select all the photos you want to combine into one new layer. Then right-click on any of them and select ‘Merge Layers.’ Finally, press ‘Ctrl+A’ (or Command+A for Mac users) followed by ‘Ctrl+E’ (or Command+E for Mac users). This will merge all selected layers into one single layer.